


Новое поступление

10 листов прививки паллет макияж ресниц клей коврик Профессиональный Гладкий

Professional Quick Dry Eyelash Glue False Extension Long Lasting Waterproof Beauty Adhesive Makeup Tools Eye Lashes | Красота и

New arrival Professional Eyelash Extension Lint Free Eye Pads White Paper Under Patches Tool for False Lashes Patch Medical Tape | Красота и

10 мл средство для очистки ресниц праймер Бесплатная доставка наращивание
607,96 руб.

1 шт. профессиональный клей для ресниц Водонепроницаемый Длительное Действие
146,01 руб.

15 мл профессиональный корейский клей для ресниц наращивания без стимуляции
1 302,76 руб.

4 бутылки/Лот Бесплатная доставка IB ультра супер клей для наращивания ресниц
Характеристики
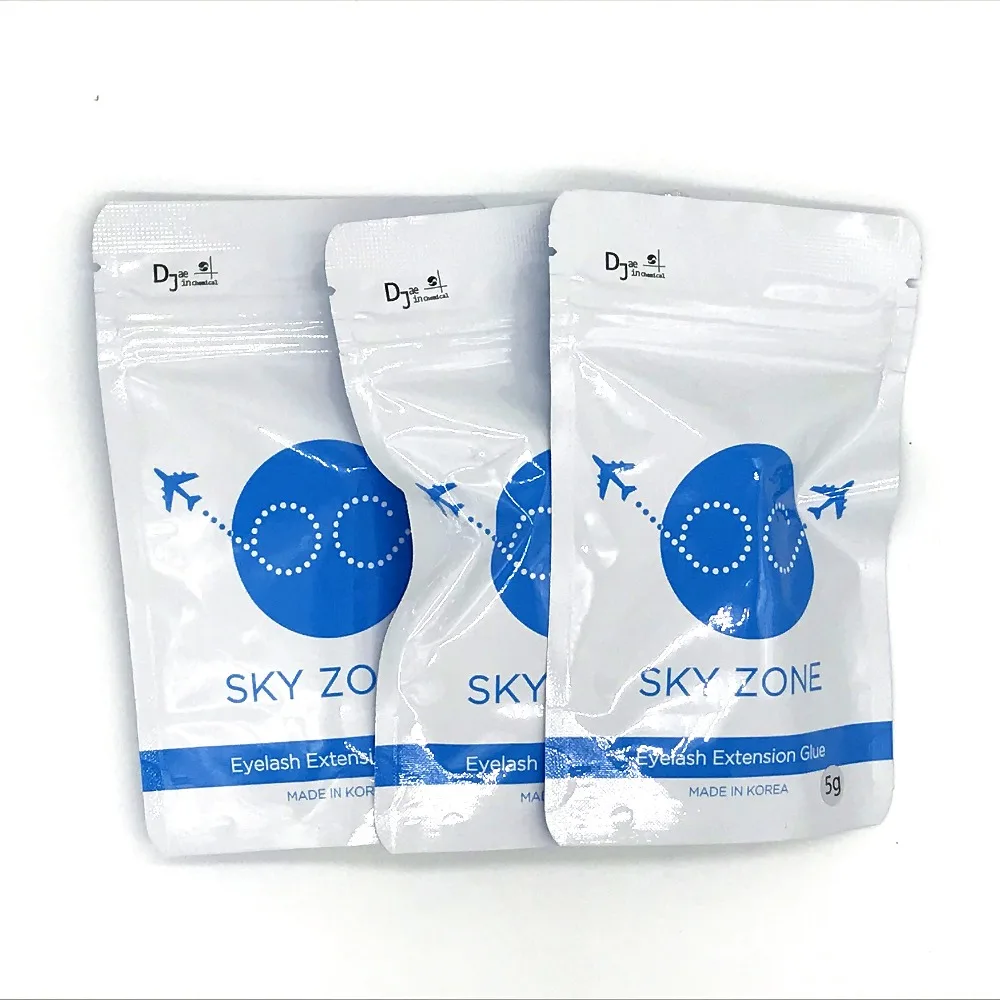
3pcs Free Shipping Original Korea 2019 Strongest SKY ZONE Glue Professional Eyelash Extension Fast Drying 1-2 seconds 5ml | Красота и
История изменения цены
*Текущая стоимость 2 970,77 / lot уже могла изменится. Что бы узнать актуальную цену и проверить наличие товара, нажмите "Добавить в корзину"
| Месяц | Минимальная цена | Макс. стоимость | Цена |
|---|---|---|---|
| Sep-17-2025 | 3534.42 руб. | 3711.51 руб. | 3622.5 руб. |
| Aug-17-2025 | 3505.1 руб. | 3680.65 руб. | 3592.5 руб. |
| Jul-17-2025 | 2940.91 руб. | 3087.3 руб. | 3013.5 руб. |
| Jun-17-2025 | 3445.80 руб. | 3617.58 руб. | 3531 руб. |
| May-17-2025 | 3000.7 руб. | 3150.85 руб. | 3075 руб. |
| Apr-17-2025 | 3386.61 руб. | 3555.49 руб. | 3470.5 руб. |
| Mar-17-2025 | 3356.22 руб. | 3524.77 руб. | 3440 руб. |
| Feb-17-2025 | 3326.7 руб. | 3492.74 руб. | 3409 руб. |
| Jan-17-2025 | 3297.62 руб. | 3462.64 руб. | 3379.5 руб. |
Описание товара


Official Sky Zone Glue 100% Korea Made High Quality Eyelash Extensions Glue
This is Sky Zone glue, drying fastest 1~2 second, professional use!!
Please shake the bottel enough before use the glue WithSealed Bag!!!!!!!
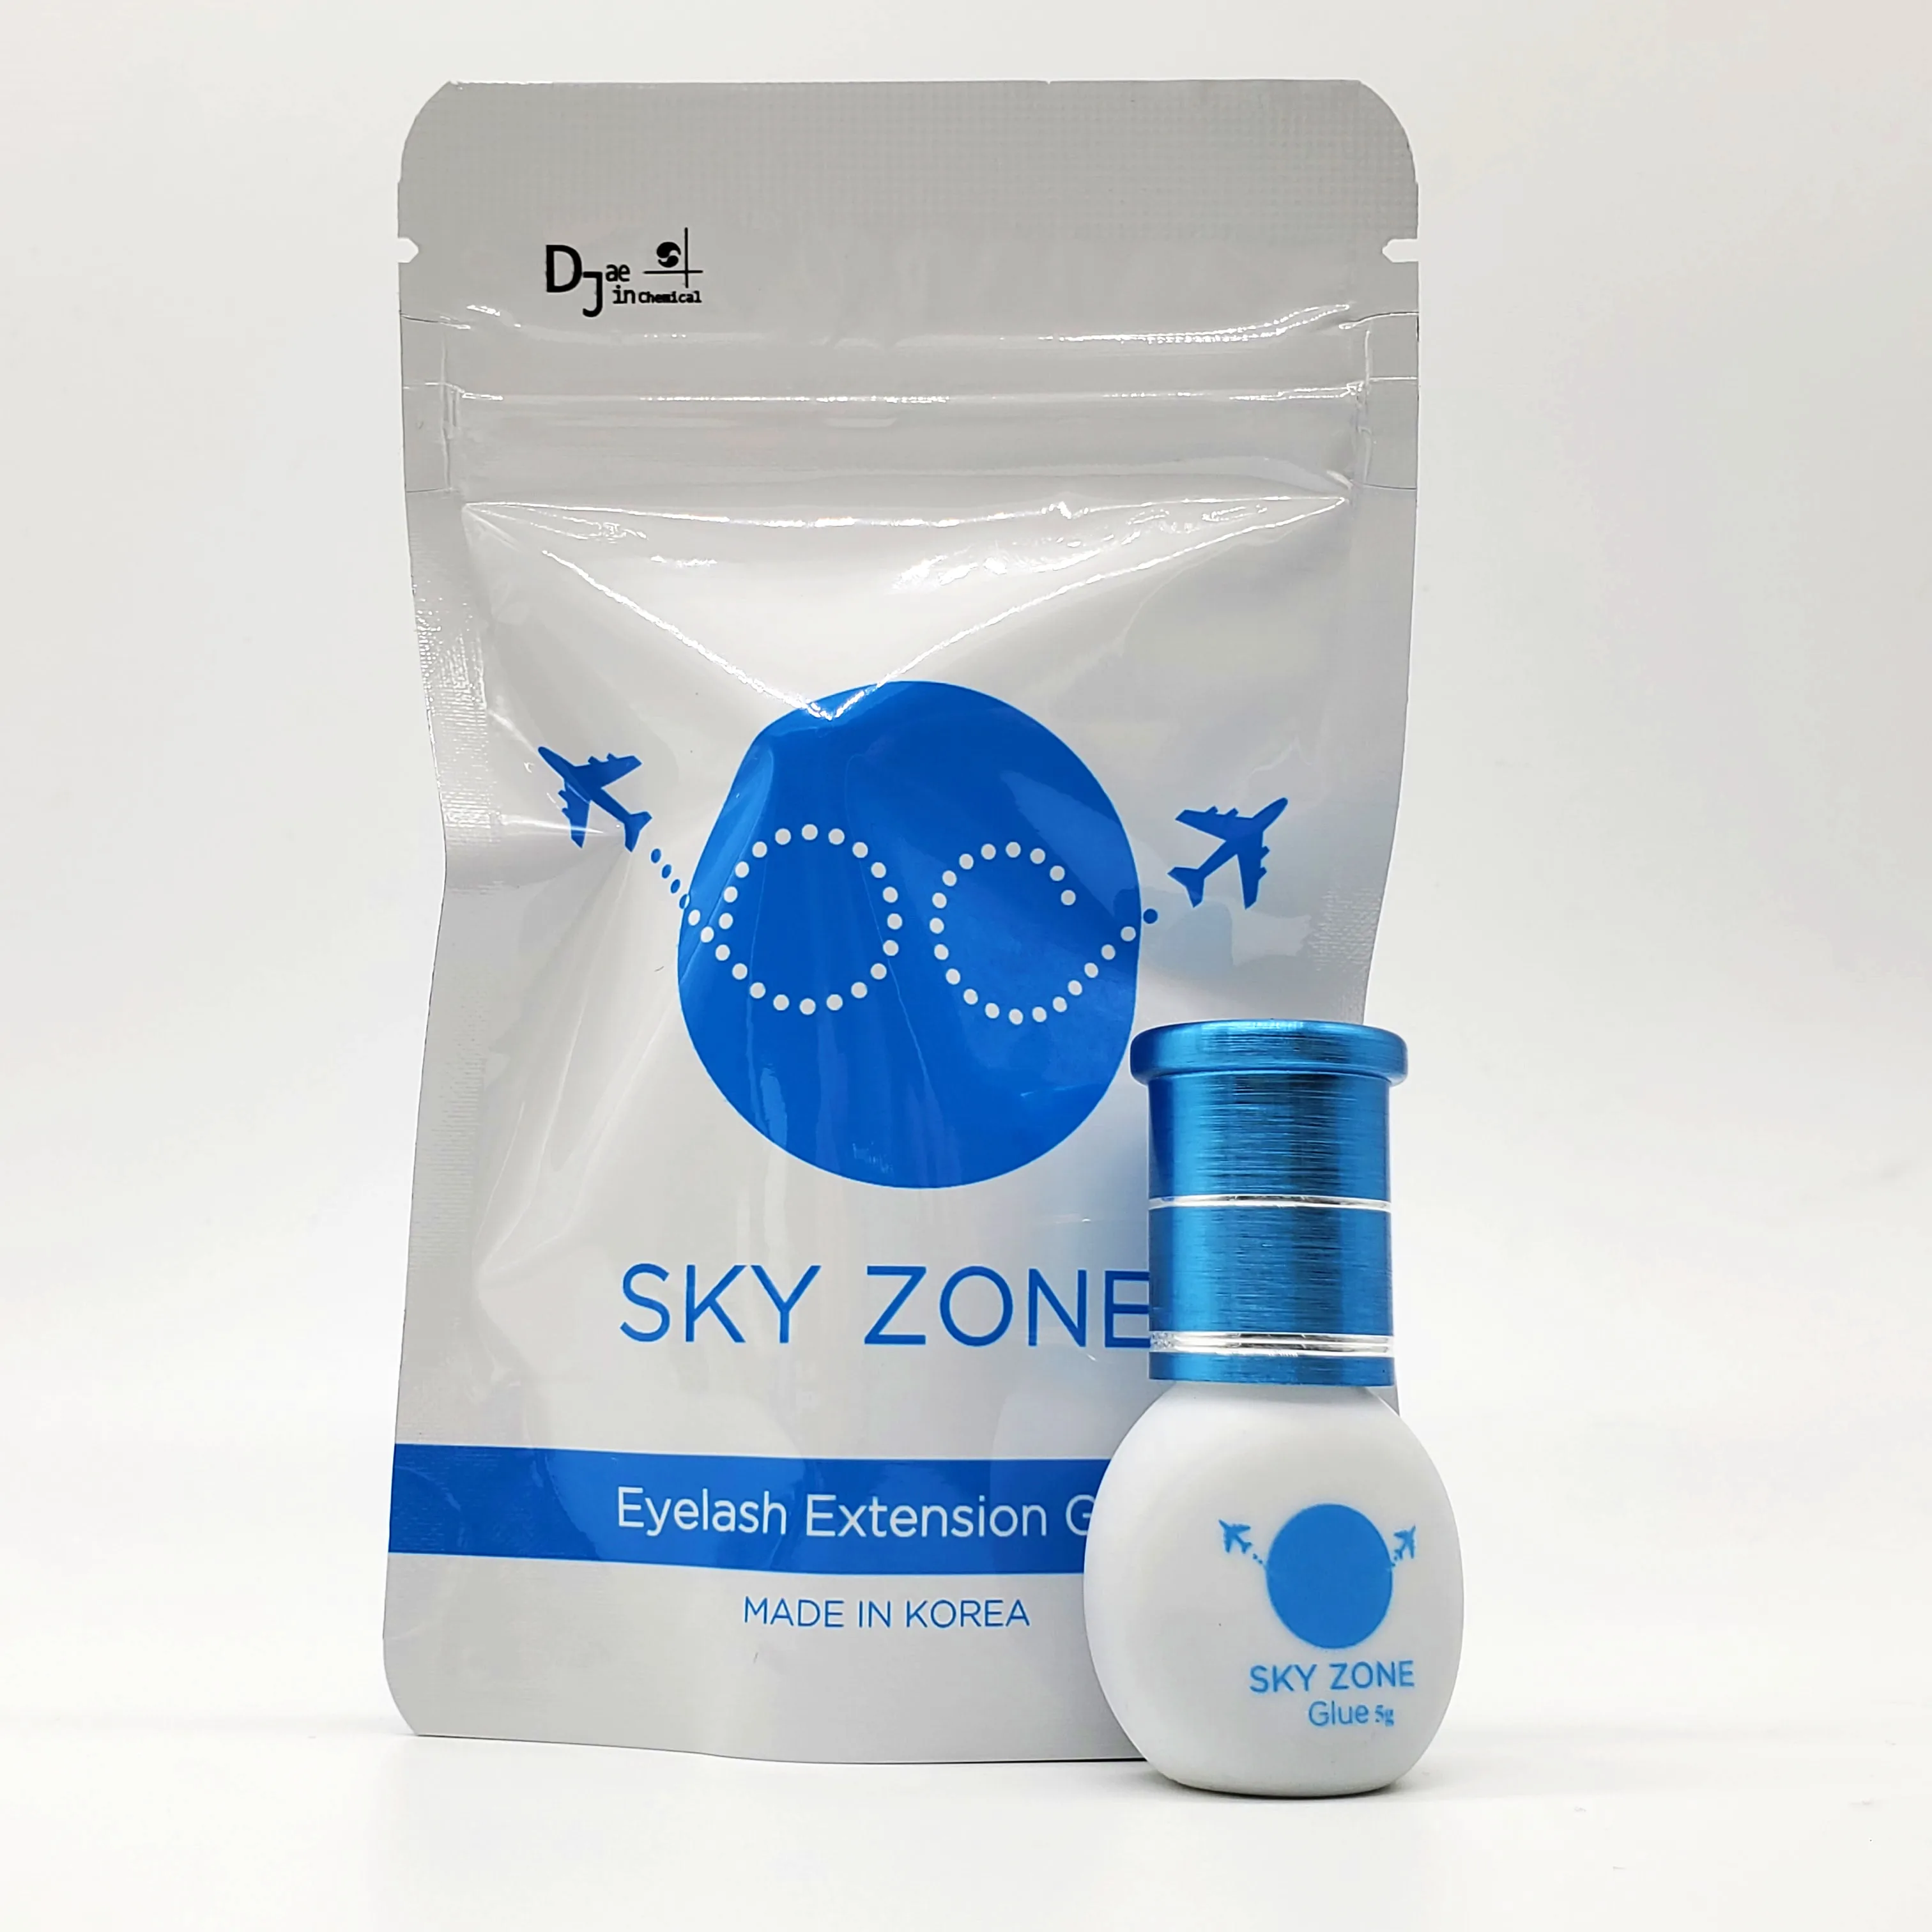
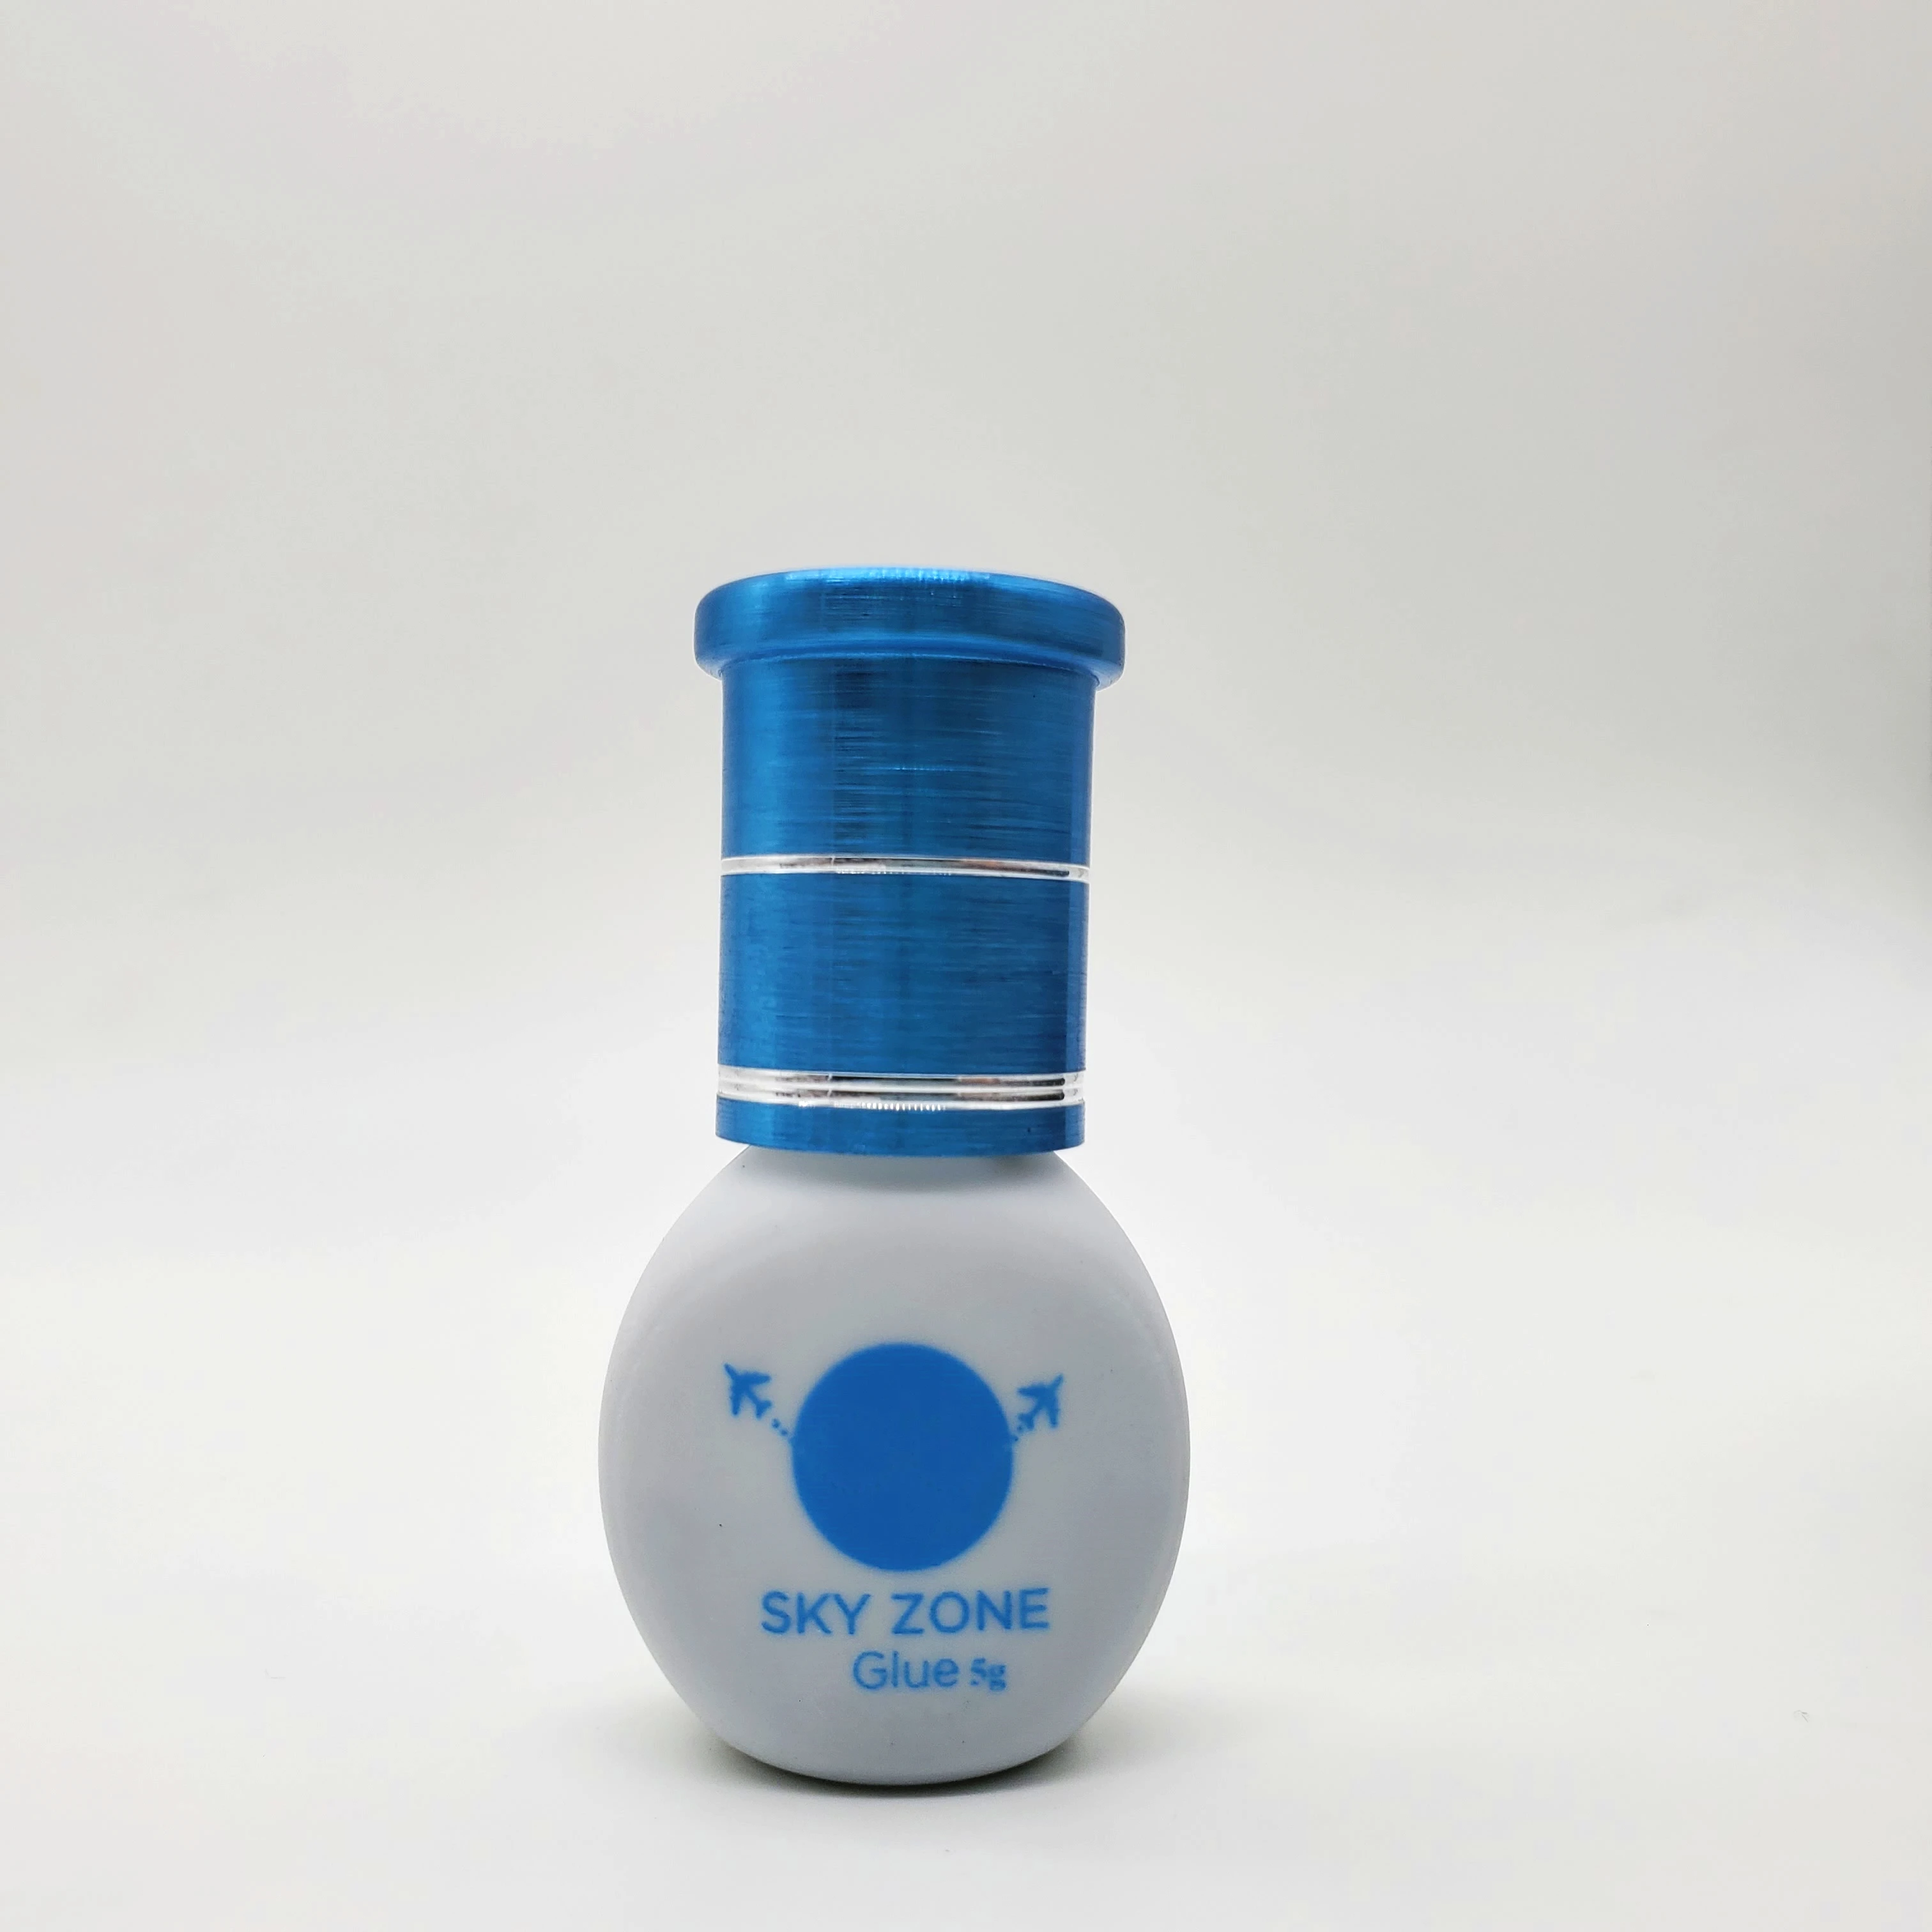
Item: Sky Zone Glue
Super adhesive (black )
Sustaining or holding over 6 weeks.
Dry time:about 1~2 second;
little irritation fume adhesive With Sealed Bag, suitable professional person to use
Capacity:5ml/bottle
Shelf Life:6 months unopen,3 months after open
Over 6 months in products safety & storage period.
3 piece /lot
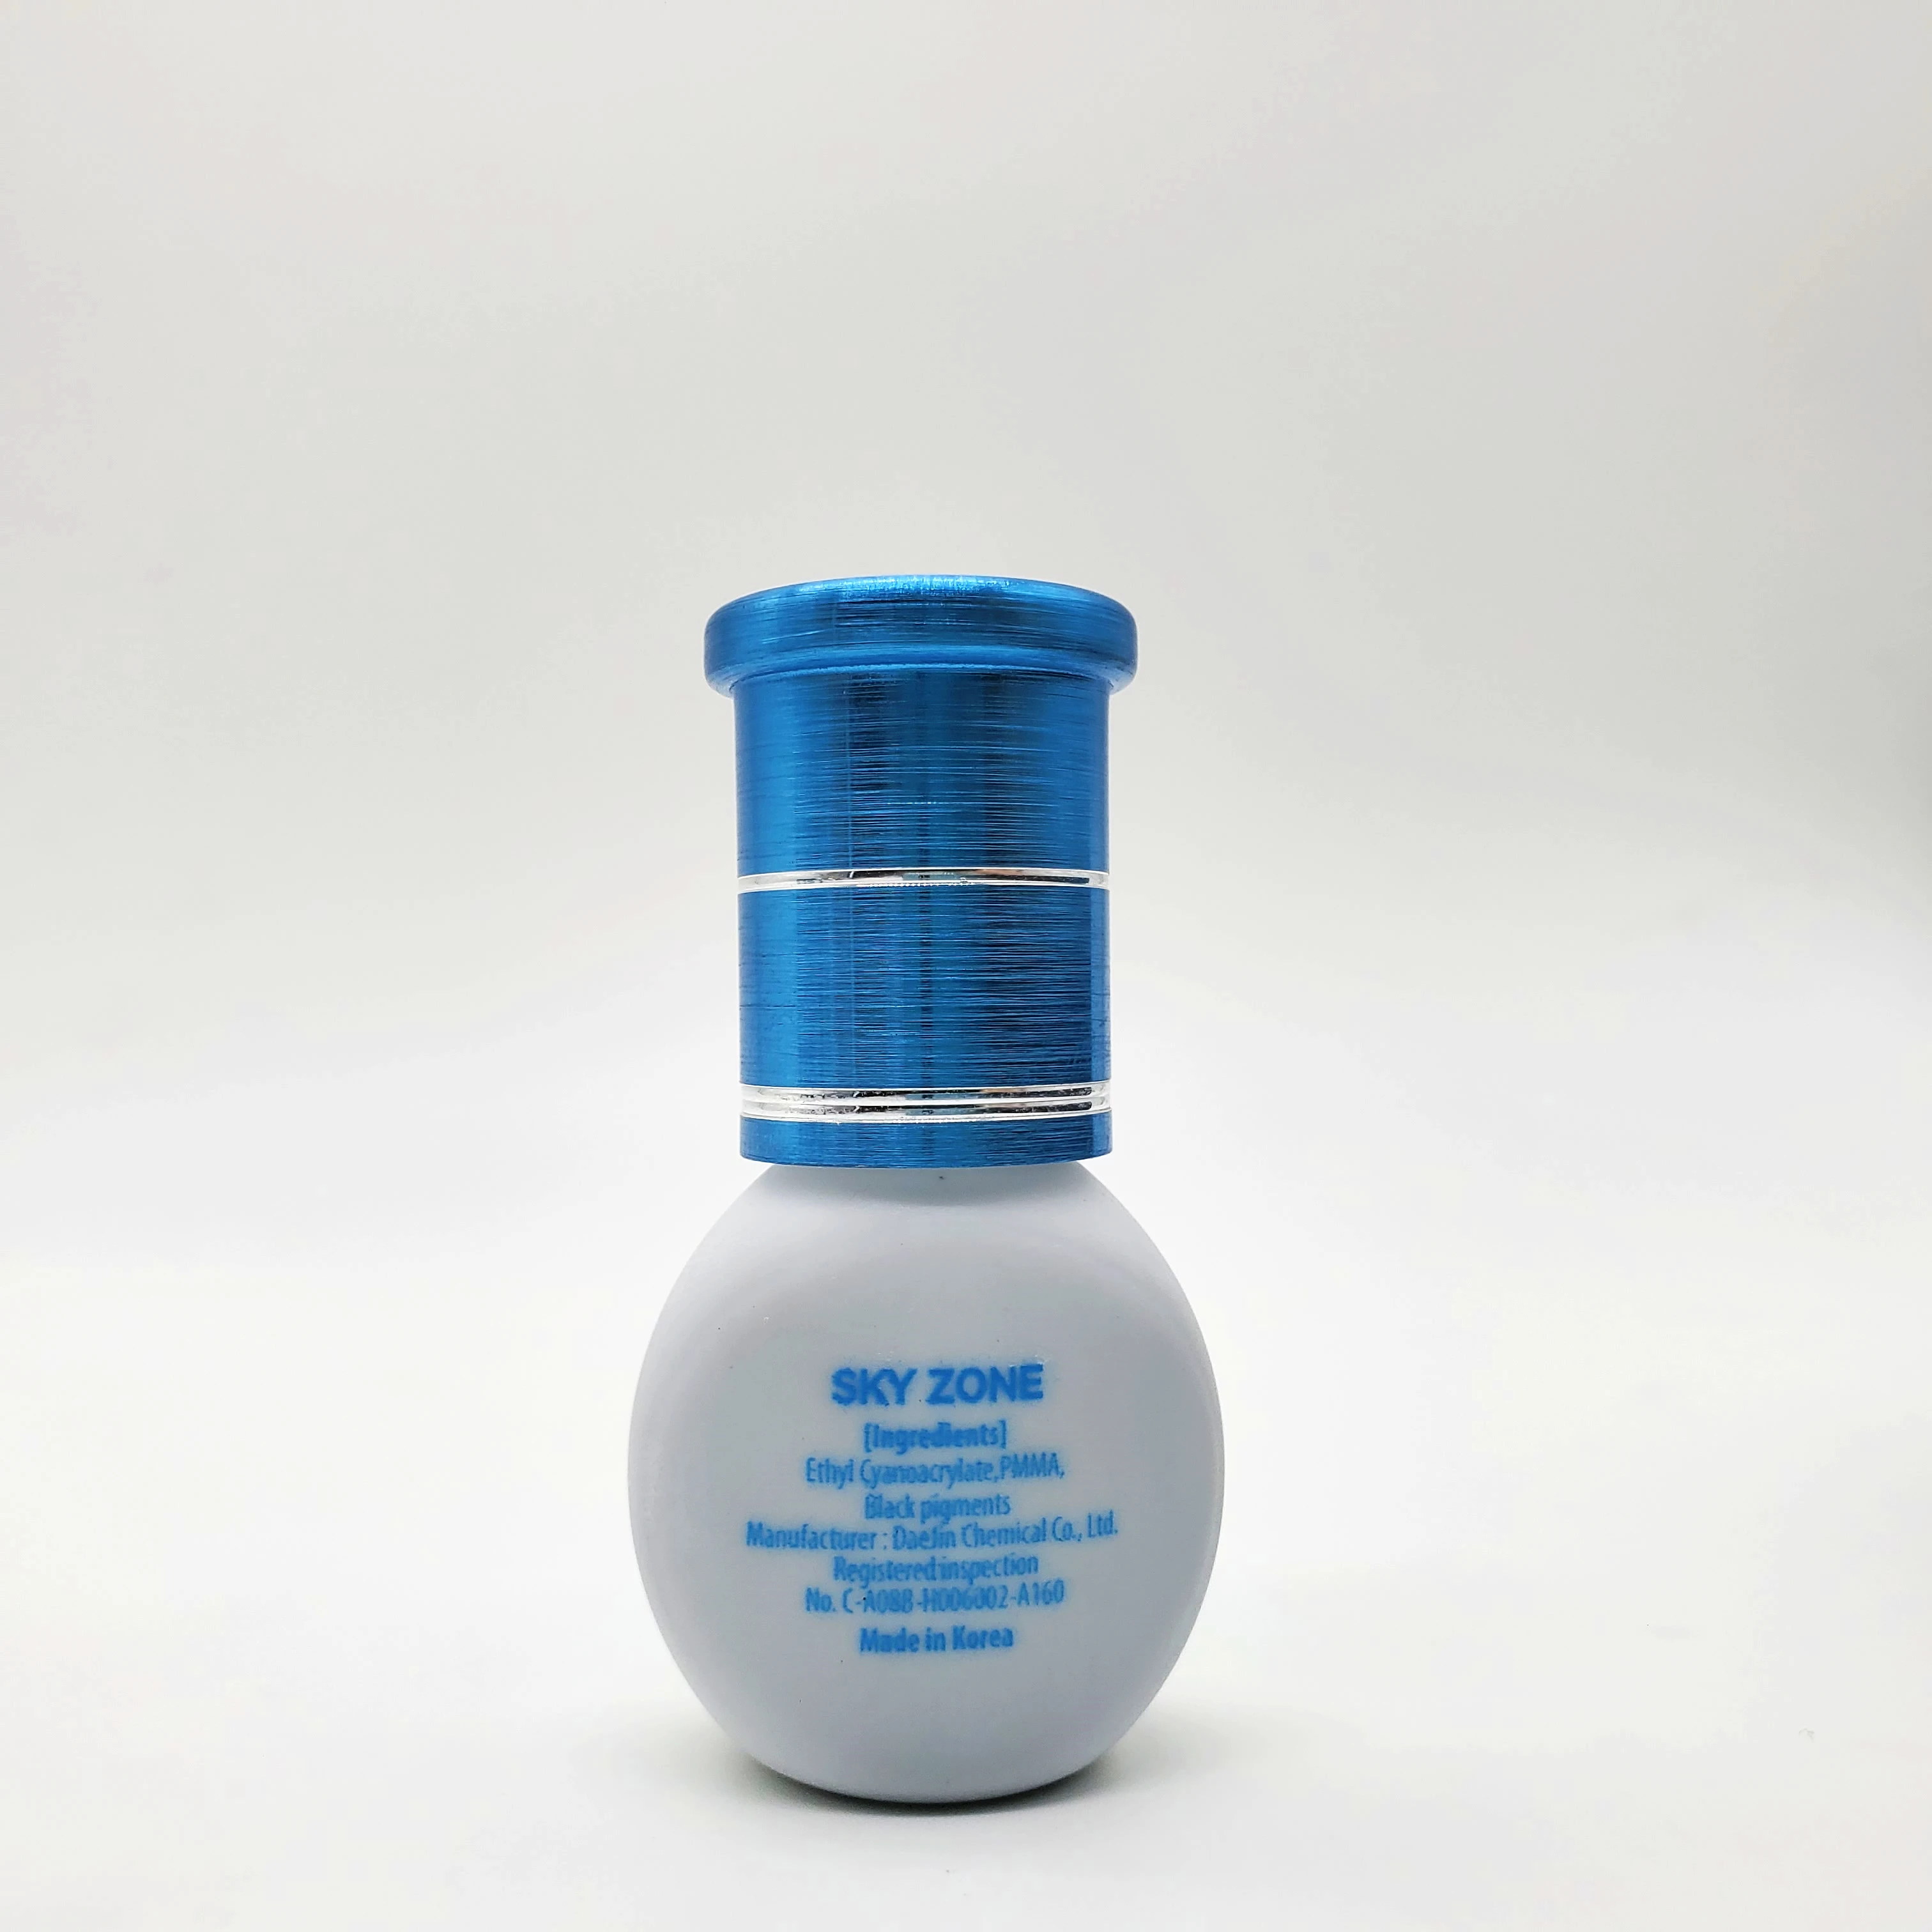
Content:5mlIngredient:Ethyl cyanoacrylate,PMMA,Hydroquinone,Carbon blackWe can provide the MSDS.PLEASE NOTE:The shipping time of aliexpress standard shipping will be about 15-45 days,some regions will be about 60 days.Please wait in patient. : )


Caution:
1.For professional use only.
2.If eye contact,flush with saline solution or water for 10 minutes.Seek immediate medical assistance.
3.A very fast setting adhesive for advanced technicians only.
4.Shake enough before use.
5.Store upright in a cool,dry place..
6.Keep out of reach of children
7.Do not use place which close to the fire
How to store the glue?
It is recommend to put in low temperature (3-7℃)and dry place like refrigerator.
Take out the glue from the refrigerator 20 minutes before use it,to get the temperature back.
And every time after use the glue,please wipe the bottle mouth clean and close it tightly.
What is the best working temperature and humidity?
The best temperature for them is 25℃,best humidity is 65%RH.
Special Service:
All the photos of this series item are real product photo show, if you want to resell them on webstie we can offer the original photos without watermark to you, if you want to show them to your customers, we also can sent a catalogue with the whole photos to you, please feel free to contact with us.
Steps to Perfect Eyelash Extensions
Step 1. Apply under-eye stickers
When applying under eye stickers/gel patches, you should avoid placing the sticker too close to the eye. The sticker should be placed over the lower lashes, about 3-4 millimeters from the lower lash line. Check lids from below to ensure upper and lower lids form a seal with no gaps.
Step 2. Choose extensions
Always use at least three different lengths of extensions that range from 6 mm to 14 mm in length. It is best to use 8 mm lash extensions in the inner corners of the eye to avoid avoid an artificial clownlike look. It is also important to use 8 mm extensions all across the eye, between the longer extensions to create a thick lash line. Failure to mix in short extensions results in empty gaps that make the long extensions look similar to spider legs. For a dramatic look, opt for the thickest (0.25mm) curly extensions. Finer lash extensions create a more natural look.
Step 3. Pick-up
Spread lashes out on your vinyl pad designed for quick pick up of the extensions. Orient extension properly in the tweezers.The extension should be oriented at a 90deg angle to the straight tweezer for quick, accurate application.
Step 4. Dip
While holding the extension from its tapered end, dip the extension into the adhesive; make sure there is ample adhesive at the base of the extension. Swipe off any excess prior to applying.
Step 5. Isolate and Swipe
Isolate the natural lash with the curved tweezers. While holding the extension from its tapered end, swipe the extension along the natural lash. Coat the natural lash with adhesive from base to tip with no gaps in the glue. Spread the adhesive until smooth.
Step 6. Set
After swiping the natural lash with enough adhesive to coat it, set the extension on the lash about 1/2ndash1 mm away from the eyelid. Release the extension onto the natural lash. The lash should be facing upwards and parallel to the other lashes without any beads of glue. Do not touch the extension after setting. Move on to another area or the opposite eye and repeatedly apply extensions until It becomes difficult to isolate more natural lashes.
Step 7. Separate
No two extensions or natural lashes should be stuck together. Use both sets of tweezers to separate any extensions from neighboring lashes and/or extensions. Grasp and separate in a horizontal manner; best done while the adhesive is dry, but not fully cured. Never pull in a vertical direction or place any tension on natural lashes. Repeat the application and separation steps until every natural lash is bonded.
Step 8. Dry
When all natural lashes have an extension securely bonded, it is time to dry the newly adorned lashes for three minutes. Mist with distilled water, dry again for three minutes and perform one final round of separation.Before completing service and to help to check the uniformity of application, combed with the comb brush or mascara brush.
Смотрите так же другие товары: