


Новое поступление
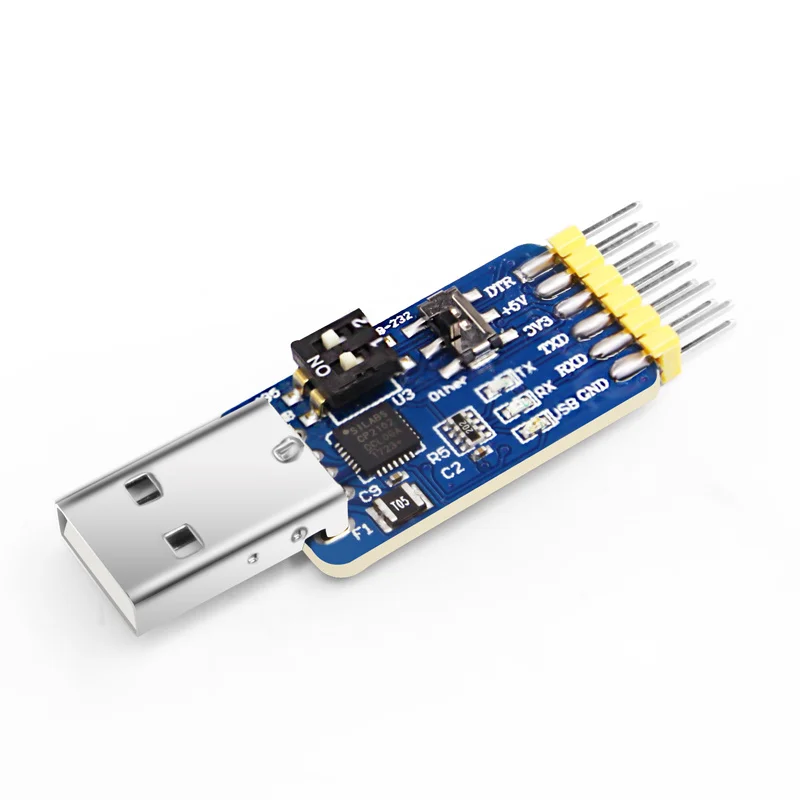
6 в 1 многофункциональный модуль последовательного порта USB в UART CP2102 TTL 485 232 интертрансформация 3,3 В / 5 В для нескольких систем.

Оффлайн контроллер режима тока для источников питания с переключением ICE2A0565G, SOP12, 1 шт. Заказ на одном сайте.
128.48

KHKO Высококачественная Внутренняя Звуковая Карта Аудио Чип 8-ми Канальной Системы 7.1CH Surround PCI-E CM8828 HIFI on.
3679.28
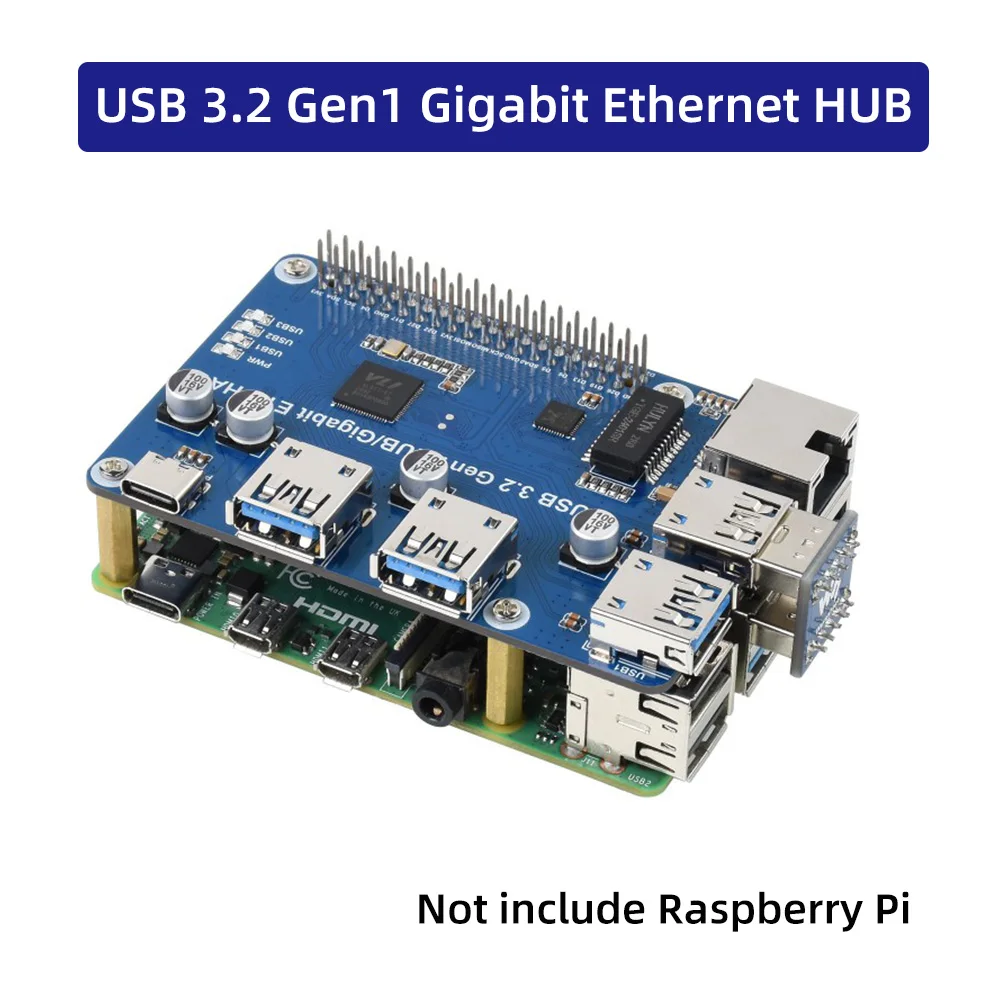
2022 Raspberry Pi 4B USB 3.2 Gen1 Gigabit Ethernet HUB HAT GPIO Expansion Board Driver Free Faster Speed for on - Расширительный модуль для GPIO, HUB с гигабитным Ethernet и USB 3.2 Gen1 для Raspberry Pi 4B, без драйверов, более быстрый скорость для работ

LattePanda Delta 432 Win10 Pro Activated Tiny Ultimate Windows / Linux Device 4GB/32GB | Demo Board

Оригинальный набор STM32 Discovery kit STM32F746G-DISCO/32F746GDISCOVERY с МК STM32F746NG и 4.3-дюймовым емкостным сенсорным ЖК-экраном.
9921.12

Корпус Raspberry Pi Zero 2 W с комплектом двух вентиляторов, набором радиаторов и клеевой лентой для охлаждения 2W.
771.76

52Pi Store
Магазина 52Pi Store работает с 25.11.2014. его рейтинг составлет 95.14 баллов из 100. В избранное добавили 4413 покупателя. Средний рейтинг торваров продавца 4.8 в продаже представленно 567 наименований товаров, успешно доставлено 5193 заказов. 576 покупателей оставили отзывы о продавце.
Характеристики
FPC-кабель камеры ленточной проволоки (золотой контакт) 16см 30см Линия для Raspberry Pi Zero/Zero W.
История изменения цены
*Текущая стоимость 498.08 уже могла изменится. Что бы узнать актуальную цену и проверить наличие товара, нажмите "Добавить в корзину"
| Месяц | Минимальная цена | Макс. стоимость | Цена |
|---|---|---|---|
| Sep-15-2025 | 593.22 руб. | 623.72 руб. | 608 руб. |
| Aug-15-2025 | 588.9 руб. | 617.59 руб. | 602.5 руб. |
| Jul-15-2025 | 493.0 руб. | 518.33 руб. | 505.5 руб. |
| Jun-15-2025 | 578.99 руб. | 607.61 руб. | 592.5 руб. |
| May-15-2025 | 503.54 руб. | 528.23 руб. | 515.5 руб. |
| Apr-15-2025 | 568.8 руб. | 596.60 руб. | 582 руб. |
| Mar-15-2025 | 563.4 руб. | 591.55 руб. | 577 руб. |
| Feb-15-2025 | 558.11 руб. | 586.11 руб. | 572 руб. |
| Jan-15-2025 | 553.94 руб. | 581.3 руб. | 567 руб. |
Описание товара


Camera Ribbon Cable Wire
[Description]
This is a new version of the high quality soft cable for Raspberry Pi ZERO and ZERO W.
It is available in two sizes, one for 30cm and one for 16cm.
The gold-plated cable leads are very good.
It is very suitable for extending the official camera use.
[Feature]
- Gold-plated cable leads
- Easy to setup
- Good flexibility
- Compatible with Raspberry Pi official camera (version 1 & version 2
[Package Include]
- 1x 16cm FPC cable
- 1x 30cm FPC cable
[How to Setup]
- Setting up the camera hardware
Warning: Cameras are sensitive to static.
Earth yourself prior to handling the PCB.
A sink tap or similar should suffice if you don’t have an earthing strap.
The camera board attaches to the Raspberry Pi via a 15-way ribbon cable.
There are only two connections to make: the ribbon cable needs to be attached to the cameraPCB, and to the Raspberry Pi itself.
You need to get the cable the right way round, or the camera will not work.
On the camera PCB, the blue backing on the cable should face away from the PCB,and on the Raspberry Pi it should face towards the Ethernet connection (or where the Ethernet connector would be if you're using a model A).
Although the connectors on the PCB and the Pi are different, they work in a similar way.
On the Raspberry Pi itself, pull up the tabs on each end of the connector.
It should slide up easily, and be able to pivot around slightly.
Fully insert the ribbon cable into the slot, ensuring it is set straight, then gently press down the tabs to clip it into place.
The camera PCB connector also requires you to pull the tabs away from the board, gently insert the cable, then push the tabs back.
The PCB connector can be a little more awkward than the one on the Pi itself.
[Gallery]


Смотрите так же другие товары: